Ironstone Guitar Pickup Wiring
Ironstone Pickup Wiring Explained:
Unlike many pickups, the majority of the Ironstone guitar pickup wiring styles use Audio grade shielded cable to make the connection from the pickup to the guitar switching and electrical components. This achieves a lower background noise and reduces electrical noise sensitivity which can be a problem with many single coil pickups. Longer wiring runs are more susceptible to this ambient electrical noise.
So instead of the normal 2 wire connections, the Ironstones typically have a single cable. The outer sheaths are colour coded to identify the pickups position (depending on model). Within this outer sheath there is an outer 'braid' or shield' of silver wire that is going to act as the electrical shield. Finally at the centre of the cable is the main signal wire, itself inside a white insulating sheath.
Each pickup still has 2 electrical connections, but the guitar ground (or negative) side is the braid rather than a totally separate wire.
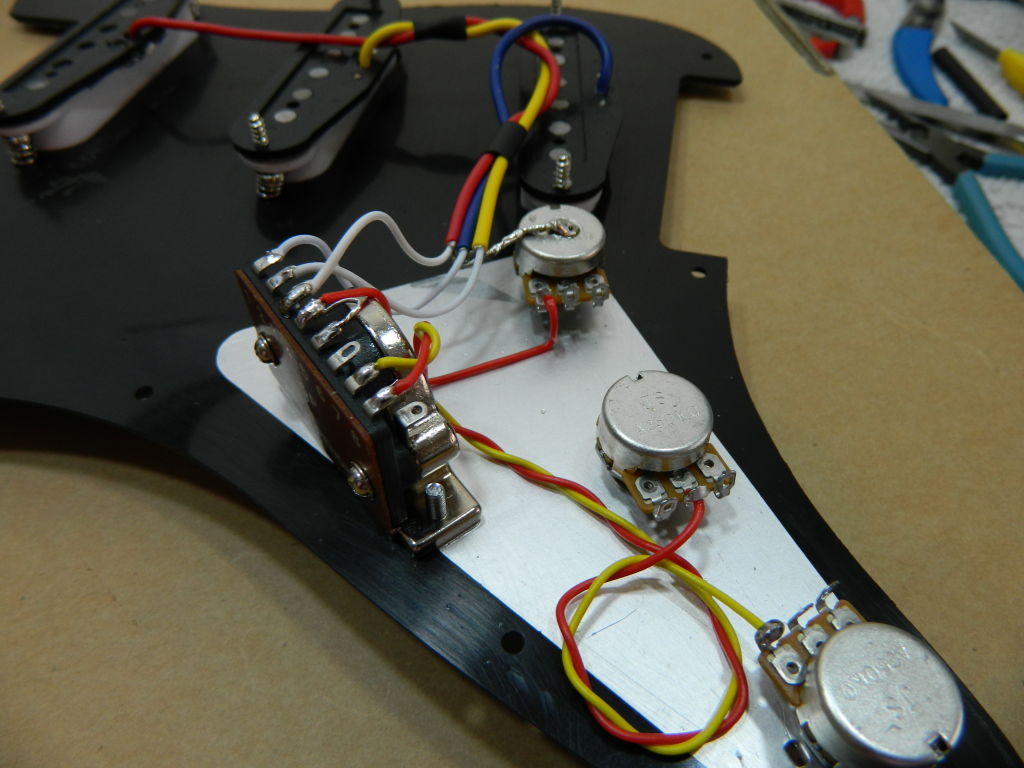
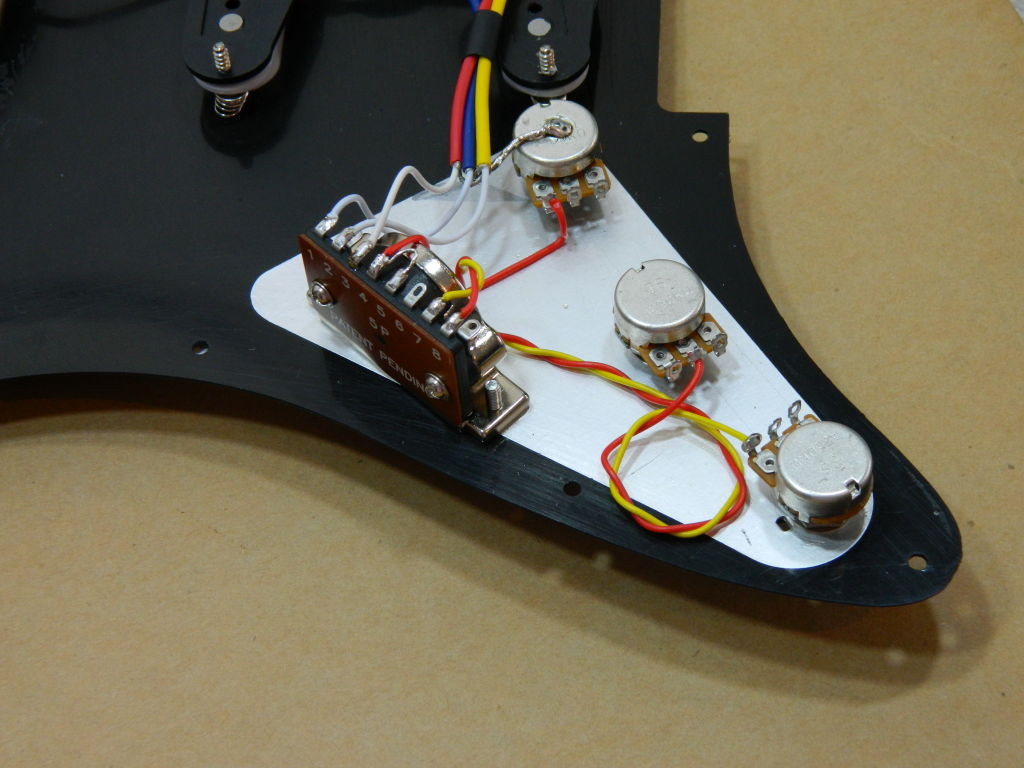
The following 2 pictures illustrate a basic installation using this wiring style. For the neatest installation, the pickup cables can be gently twisted together (light application of a DIY style heat gun will make the cables a little softer to work). This can then bound with some electrical heatshrink or simply small plastic cable ties. In the illustrative photos (some wiring / components omitted for clarity), the 3 colour coded cables have been trimmed to the same length so that the braids can be twisted together and soldered onto the volume pot body, the normal guitar ground point for a Strat design.
But is also fine to simply keep the full cable length as supplied and just coil the excess. Note that the connection of the twisted braided wire from the 3 pickup cables to the volume pot body is kept deliberately short. The joint can and should be wrapped in insulating tape (not shown). This is to reduce the chances of any 'live' signal wiring touching the soldered braid and being 'shunted' to ground, thus eliminating the signal (like a 'kill switch').
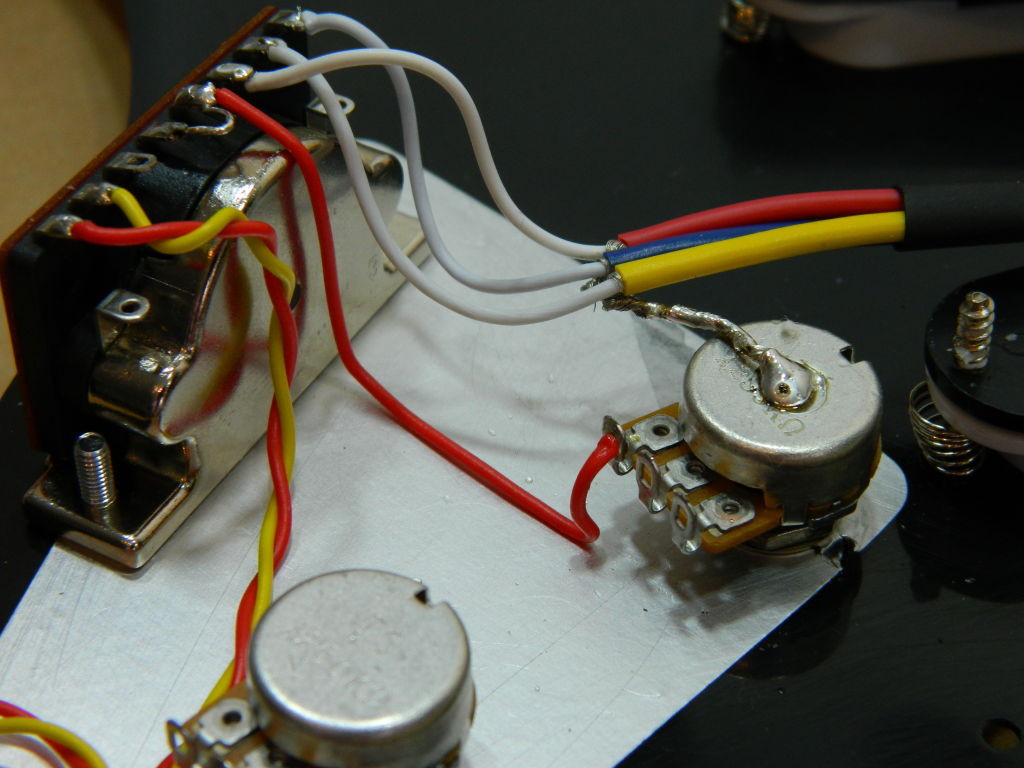
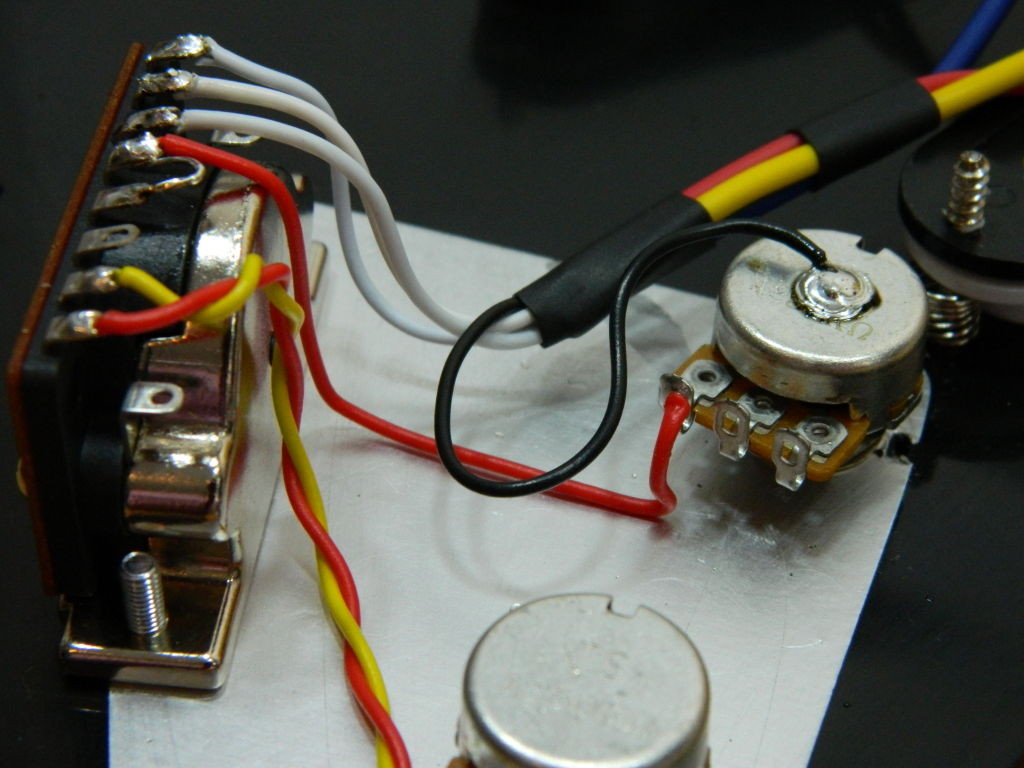
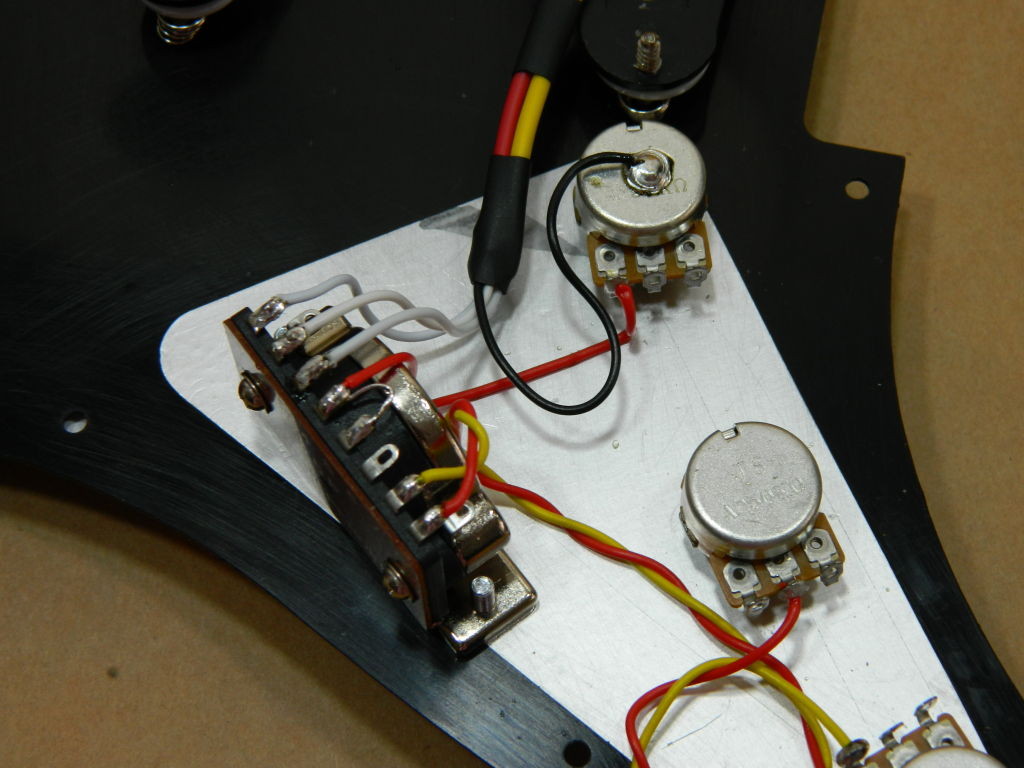
An alternative connection method involves soldering a small length of insulated wire onto the twisted braids and then insulating the complete joint. The insulation ensures that there can be no electrical signal shorting, and can be heatshrink or simply electrical tape. This small connecting wire (black in the following photos) is then connected to the volume pot body exactly as the braids were before.
An additional advantage of this method is that resulting structure is more physically flexible which can be useful when working in the small spaces of a guitar body's control body well.
So all quite simple with a bit of care and patience. And once completed and all of the innards are safely hidden away, you will get the benefit of the lowest possible electrical noise levels. Taking it even further, you can of course also use audio shielded cable for the connection to the jack socket and of course shield the complete guitar control environment. See the Ironstone page;

